
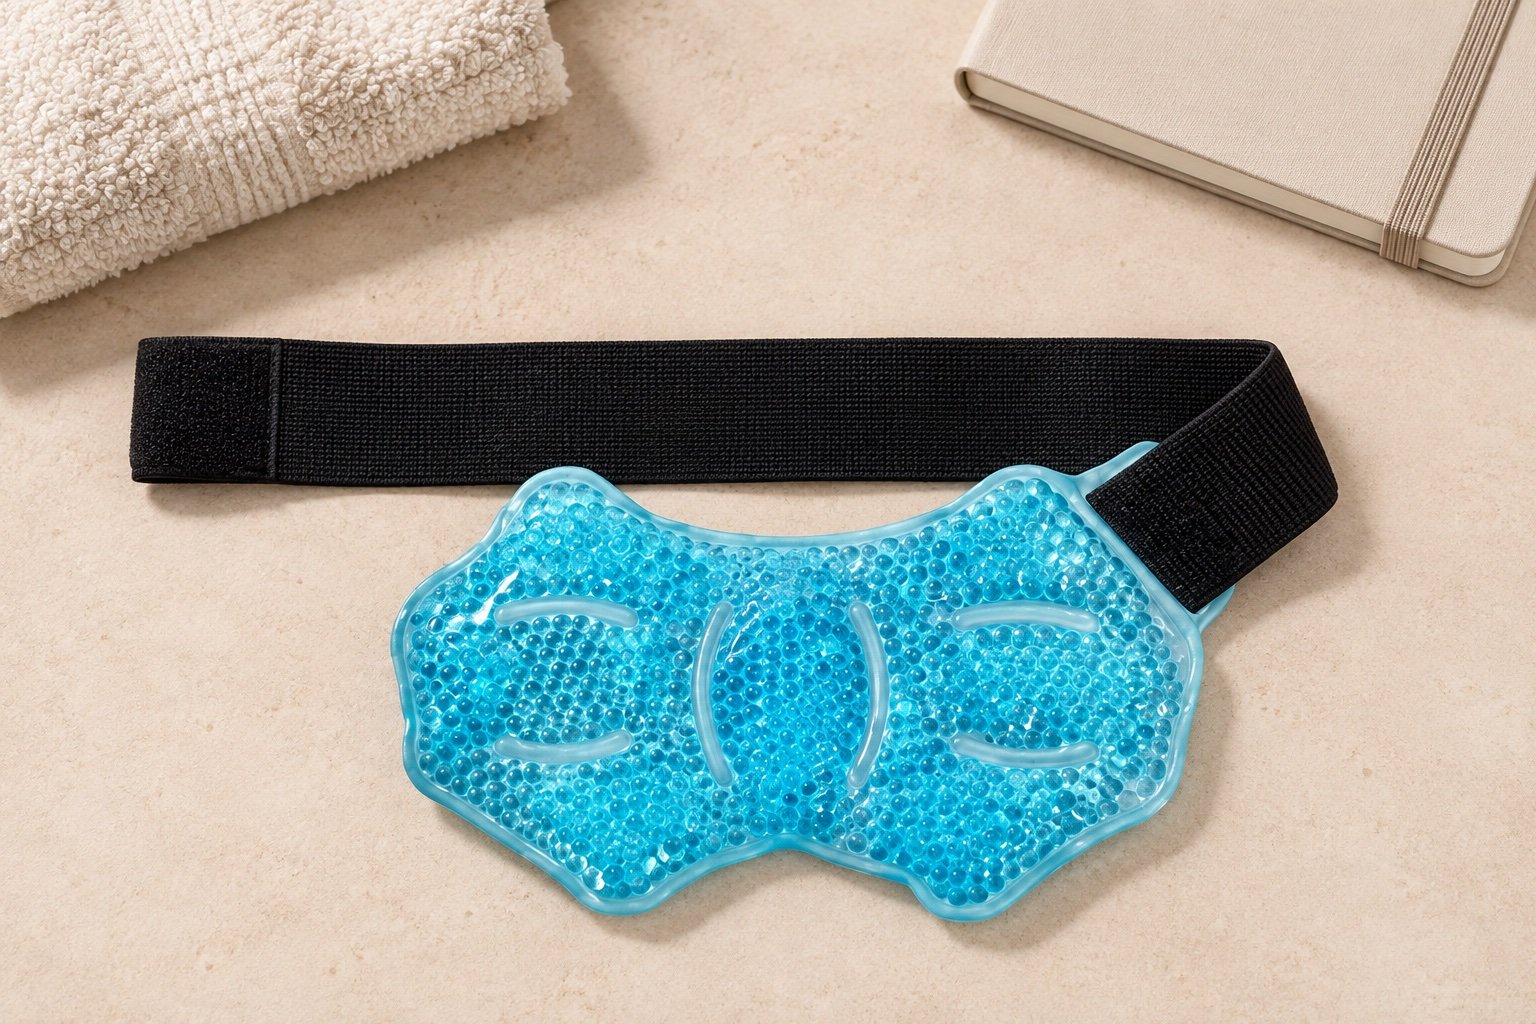
An ankle wrap can look correct when laid flat yet bunch at the front of the joint, lift beside the heel, or leave too little strap overlap once the filled pack is fitted. Good ankle ice pack wrap design starts with the required coverage and the intended wearing position, then checks the complete, conditioned assembly—not just the outline of an empty pouch.
For brands, importers, and product-development teams, the useful deliverable is a drawing linked to a repeatable sample review. This guide explains what to specify, which tradeoffs to discuss, and what evidence to request before approving a custom format. It is product-development guidance, not advice on treating an ankle injury.
Cover: a product-design illustration, not a tested sample or evidence of medical performance.
On this page
Define the coverage before choosing the strap
Mark the area the product is intended to cover on front, side, and rear views. Distinguish the inner and outer ankle, the back of the ankle, and the top of the foot. “For the ankle” is too broad to tell a supplier where the pack should end or where a closure can sit.
Also identify areas that should remain clear in your proposed design: the heel opening, the front flexion crease, the toes, and any intended gap around a prominent bone. These are design inputs to evaluate, not universal anatomical clearance dimensions.
- Position: will the user be seated with the foot supported? Do not assume suitability for walking or wearing inside footwear.
- Orientation: is the same design intended for left and right ankles, or are separate versions needed?
- Fit population: define the measurement range and the way those measurements are taken. Shoe size alone does not define ankle circumference or instep geometry.
- Application: will a user put it on independently, or will another person help? This affects strap access and the order of assembly.
The ankle and foot ice pack product category is the starting point for available formats. Use the design checks here to evaluate a selected format rather than treating a category image as proof of fit.
Decide how the insert and wrap work together
A contoured pouch with an attached strap and a removable insert inside a textile sleeve need different approval checks. The first concentrates attention on pouch shape, attachment points, and closure routing. The second adds pocket clearance, insertion direction, insert movement, and separate care instructions.

For a concrete construction reference, compare the contoured gel-bead wrap with an adjustable strap with the removable gel pack and mesh-sleeve format. These are starting structures, not interchangeable designs or promises of a particular medical result.
Check the filled shape, not only the flat dimensions
Identify pouch dimensions, usable filled area, peripheral seals, internal divisions, and strap attachment points separately. A large outside outline can still have a much smaller effective coverage area. Excess fill near a bend may cause a bulge; a stiff edge or thick folded sleeve may create an awkward stack where the foot meets the leg.
Ask for front, side, and fitted views of the proposed assembly. If a pocket holds a removable insert, record the allowable movement within it and how the opening keeps the insert from sliding out. Do not solve a poor pocket fit merely by tightening the outer strap.
Specify useful adjustment, not just total strap length
A long strap is not automatically a wide fit range. Part of its length may be fixed inside a seam or unavailable because the hook and loop must meet. Define the usable adjustment range, minimum agreed engagement area, strap width, anchor position, and the free end that the user can grasp.

During a sample review, ask whether the strap twists, rolls into a narrow band, pulls the pouch away from the intended area, or leaves exposed hook material where it can snag fabric. Check both ends of the proposed fit range. A satisfactory fit on one reviewer is not enough to substantiate a broad “one size fits most” label.
Retention and compression are different claims. A strap that keeps a pack in position does not establish a controlled pressure level. Do not specify a compression value or therapeutic effect without an appropriate product-specific evaluation.
Separate fastener strength from whole-wrap performance
ASTM D5169 addresses shear strength of hook-and-loop fasteners, while ASTM D5170 addresses peel strength. These distinguish resistance to different separation modes. Neither result alone validates the assembled wrap, strap anchorage, user fit, or medical safety.
If laboratory testing is part of the brief, agree on the method, conditioning, specimen preparation, reporting approach, and acceptance criterion with a qualified laboratory. The criteria should follow your design requirements; this guide does not supply a universal pass value. Component construction is covered further in the ice pack accessory specification guide.
Review the sample in its intended condition
Room-temperature appearance is only one checkpoint. Define the product-specific preparation conditions before reviewing the complete wrap. Use approved preparation instructions, record the actual conditions, and avoid importing freezing or heating times from an unrelated product.
A practical review sequence is:
- Identify the sample. Record pouch, fill, sleeve, strap, fastener, and drawing revisions.
- Inspect the assembly. Check edges, attachments, pocket opening, closure alignment, and any visible damage.
- Condition it as specified. Record equipment conditions, elapsed time, and the agreed endpoint. See the separate gel pack conditioning-time guide for planning that check.
- Evaluate the intended position. Observe gaps, folding, rotation, and strap accessibility at the defined fit limits. Human-use checks require an appropriate safety review and supervision for the product and intended use.
- Remove and reassemble. Check whether the insert returns to the intended position and whether the user can identify the correct side and closure order.
- Repeat after the agreed care sequence. Record dimensional changes, pocket distortion, seam condition, and closure behavior. Do not convert a small development check into an unsupported lifetime claim.
For a product intended to be a medical device, FDA’s human-factors guidance provides a framework for considering intended users, tasks, and environments. It is not an approval of this proposed design or a substitute for determining the product’s regulatory requirements.
Turn observations into a supplier-ready approval record
Use one entry for each observation: sample revision → condition → location → observed issue → required change → person approving the recheck. Photographs should show orientation and a useful scale, not just an attractive product angle.
For example, a hypothetical sample may cover the ankle correctly at rest but lift at the heel when the fastening route changes. Record the specific condition and ask whether the remedy is a different pouch outline, pocket position, or strap anchor. “Make it tighter” leaves the underlying design question unresolved. This is an illustration of the review method, not a Cryozin test result.
Before sign-off, freeze the coverage drawing, usable adjustment range, component list, approved instructions, and unresolved exclusions. Link them to the sample approval record so later material or strap changes trigger the right recheck.
A copy-ready ankle wrap specification worksheet
Copy the following fields into your sampling brief. Replace each blank with an agreed input or mark it “not yet confirmed.” This is a planning worksheet, not a validated specification or a test record.
| Field | Record before approval |
|---|---|
| Coverage | Required coverage: ____ Areas to keep clear: ____ Left/right configuration and annotated drawing revision: ____ |
| Fit range | Measurement landmarks and body position: ____ Target measurement range: ____ Method for checking the range: ____ |
| Strap | Usable adjustment range: ____ Strap width, anchor position, and agreed engagement area: ____ Closure order: ____ |
| Parts | Pouch, fill, sleeve, strap, and fastener revisions: ____ Insert orientation and allowable pocket movement: ____ |
| Sample | Sample ID: ____ Approved preparation/care instructions: ____ Actual conditioning and observation conditions: ____ |
| Sign-off | Observation and agreed acceptance criterion: ____ Required change and recheck: ____ Approver/date and remaining exclusions: ____ |
Keep the completed worksheet with photographs of the same sample revision. A blank field is an unresolved decision—not permission for the supplier to assume a fit, safety limit, or performance claim.
Questions buyers ask before sampling
Can one wrap serve both left and right ankles?
Possibly. Check the complete design in both orientations, including closure access, pouch position, and any left/right labels. A symmetric flat outline alone is not sufficient evidence.
Should the heel be covered?
That depends on the defined coverage and use. Show the desired heel boundary on the brief and evaluate it with the complete assembly. Do not infer a treatment requirement from a product photograph.
Does a stronger fastener always make the design better?
No. Holding strength, ease of opening, adjustment, attachment durability, and snagging are separate concerns. Evaluate the balance for the intended user rather than maximizing one laboratory number.
Bring an ankle-specific brief to the custom project
The next useful step is a marked coverage drawing, target fit range, intended wearing position, preferred insert construction, and a list of sample checks. Cryozin can review these inputs for a custom ice pack development project; available construction and performance must be confirmed against the agreed sample and specification.
Send your ankle-wrap brief for a project review, including the target market and any labeling or testing requirements that your team has already established.
Sources and further reading
- ASTM International: D5169—Shear Strength of Hook and Loop Touch Fasteners.
- ASTM International: D5170—Peel Strength of Hook and Loop Touch Fasteners.
- FDA: Applying Human Factors and Usability Engineering to Medical Devices.
Scene images are editorial concepts based on catalog references, not evidence of a factory, customer project, test or approved configuration. Catalog images illustrate visible product form only.
